How to fit a banner on Heras fencing
Why mesh suits temporary fencing, which sizes fit a panel, wind load and stability, the fitting steps, and how to check the banner while the site is live.
Last updated
To fit a banner on Heras fencing safely, use a mesh banner, tie it through every eyelet to the fence tubes, and check with whoever installed the fence that it can take the extra wind load. A solid banner turns an open fence panel into a sail, so the choice of material matters as much as the ties. This guide covers sizes, stability, the fitting steps and how to look after the banner while the site is live.
Why mesh is the right banner on Heras fencing #
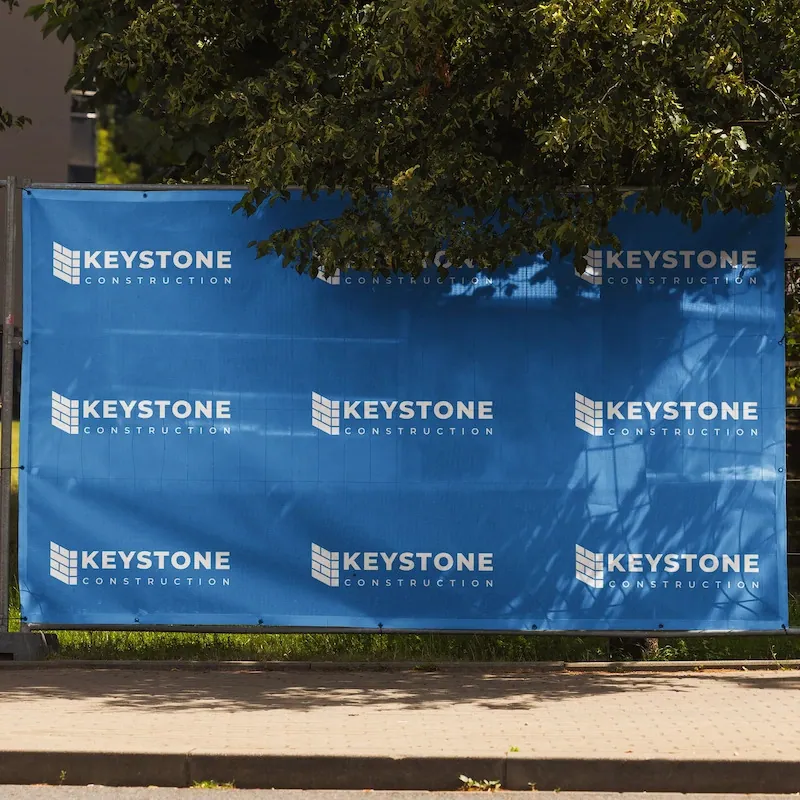
Temporary fence panels stand on their own feet, held together with couplers. They are designed to let wind pass through the wire mesh. Cover a panel with solid PVC and the whole surface catches the wind, which pushes on the ties, the panel and the feet. Our Heras fence mesh banners are printed on 260gsm mesh, which lets a good part of that wind through while still reading as a solid image from the road.
A solid Heras fence PVC banner (440gsm PVC or 400gsm PVC-free) still has its place: sheltered spots, short events, or a smaller banner in the middle of a run. For anything open to the weather for weeks, mesh is the sensible default. Our guide to PVC or mesh banners explains the difference in more detail.
Sizes that fit a Heras panel #
A standard Heras panel is about 11 ft 6 in × 6 ft 7 in (3500 × 2000 mm). Our full-panel size is 10 ft 10 in × 5 ft 11 in (3300 × 1800 mm), which covers most of the panel and leaves a margin for the ties at every edge. The PVC version also comes in 9 ft 10 in × 4 ft 11 in (3000 × 1500 mm) and 6 ft 7 in × 3 ft 3 in (2000 × 1000 mm) for a smaller message. Panels vary between hire companies, so measure one before ordering; our Heras fence panel size guide shows where to measure.
The full-panel size is over 3 m on its long side, so it counts as an oversize item for delivery: a single +£15 charge per order, however many banners are in it.
Wind load and fence stability #
Do not skip this part. Adding any banner on Heras fencing changes how the fence behaves in wind, and a fence that blows over onto a pavement is a real hazard. Before you fit anything, speak to whoever installed or hired out the fence. They can tell you whether the run needs extra support, such as more ballast on the feet or stabiliser stays on the panels carrying banners, and they know their own equipment.
The HSE’s construction guidance covers keeping temporary structures and site boundaries safe. If the site has a principal contractor or site manager, the banner plan should go through them.
How to fit a banner on Heras fencing #
What you need for a banner on Heras fencing
- The banner with eyelets. Metal eyelets are the stronger option for long outdoor use.
- Cable ties: one for every eyelet, plus a handful of spares.
- Side cutters to trim tails and remove ties later.
- Gloves, because fence wire and cut tie ends are sharp.
- A second person to hold the banner while you tie.
Fitting steps
- Agree the position. Confirm with the fence installer or site manager which panels will carry banners and whether extra ballast or stays are needed first.
- Check the panels. Make sure each panel sits in its foot, the couplers are tight and the run stands straight. Do not fit a banner to a leaning or damaged panel.
- Unroll on the right side. Lay the banner out on clean ground and check it faces the road or path, the right way up.
- Tie the top corners. Hold the banner against the panel and fix the two top corners to the top tube, close to the uprights where the frame is strongest.
- Tie the bottom corners. Fix the bottom corners to the bottom tube so the banner hangs square and cannot lift.
- Tie every eyelet. Work along the top edge, the bottom edge and then the sides. Skipping eyelets leaves the others carrying extra load.
- Set the tension and trim. Pull each tie until the banner is flat but not stretched, then trim the tails and turn the heads to the site side, away from the public.
- Walk the run. Look along the fence from the pavement. Check nothing overhangs the path and the panel still stands true.
Crowd barrier banners #
Steel crowd barriers at events, queues and sports are fitted the same way: cable ties through the eyelets onto the barrier frame. Our crowd barrier banners come in 7 ft 3 in × 2 ft 7 in (2200 × 800 mm), 6 ft 7 in × 3 ft 3 in (2000 × 1000 mm) and 7 ft 7 in × 3 ft 3 in (2300 × 1000 mm), or your own size from 1 ft 8 in to 8 ft 2 in wide (500 to 2500 mm) and 1 ft to 3 ft 11 in high (300 to 1200 mm), in PVC, mesh or PVC-free. Barrier sizes vary between hire companies, so measure one panel and choose a banner slightly smaller than the frame. Standard production is 3 working days, express 1 and saver 5.
Checking the banner while the site is live #
A banner on Heras fencing should be part of the regular fence check. Look at it after any strong wind and at least weekly on a long job:
- Replace snapped or missing ties straight away, before the neighbouring eyelets tear.
- Look for panels that have shifted, lifted feet or loose couplers, and tell whoever manages the fence.
- If a storm is forecast, cutting the banner off for a few days is quicker than repairing a fence line.
- Check the print is still readable. Mud splash along the bottom edge wipes off with water and a soft brush.
Taking it down #
Remove banners before the fence is dismantled, not after. Cut each tie with side cutters, collect every offcut (hire companies do not want panels returned covered in cable ties), let the banner dry and roll it print side out. A mesh banner in good condition can go straight onto the next site; see how to store banners.
Still not sure? #
Send us the size of your panels and where the fence is, and we will suggest a size and material. Call 0161 315 1151 or use the contact form.