Roller banner artwork: how to set it up
Page sizes, pixel sizes, where the logo and text go, the hidden strip at the base, and a 10-step setup for roller banner artwork that reads from across a room.
Last updated
Good roller banner artwork is set up at the finished size (for example 850 × 2000 mm), with the logo and headline in the top third, three to five short lines of text in total, and nothing important in the bottom 150 to 200 mm, which can disappear into the base. Photos should be 100 to 150 dpi at full size and the file should go to us as a PDF. This guide takes you through the layout, the file setup and the checks, step by step.
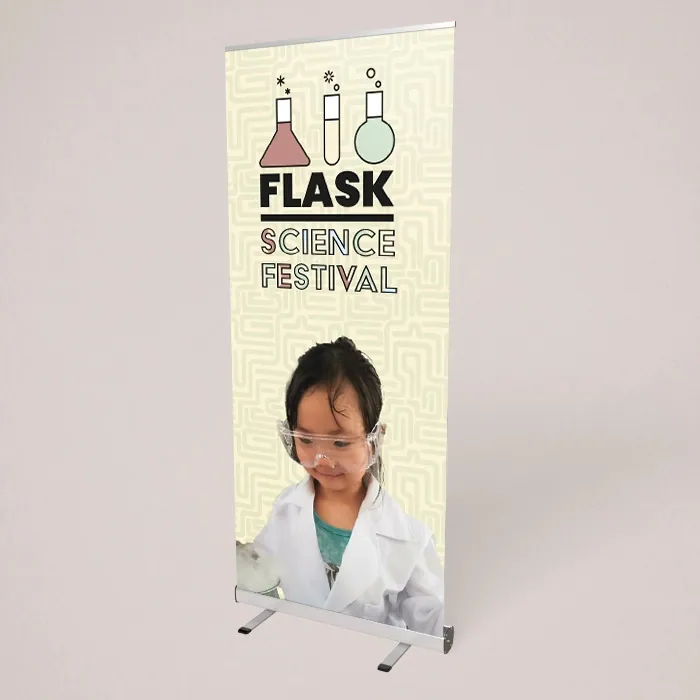
If you have not chosen a width or stand yet, start with our roller banner buying guide. This article assumes you know the size and want the design to work on it.
Setting the document size for roller banner artwork #
Set your page to the exact width and height you are ordering. A roller banner is tall and narrow, so a layout designed for a landscape poster and squashed onto it never looks right. Work in millimetres, and check the page size before you place anything.
The table below shows the page size and the pixel size you need for photos that fill the whole banner, at the 100 to 150 dpi range our artwork guidelines recommend for large items.
| Finished size | Pixels at 150 dpi | Pixels at 100 dpi |
|---|---|---|
| 800 × 2000 mm | 4724 × 11811 | 3150 × 7874 |
| 850 × 2000 mm | 5020 × 11811 | 3346 × 7874 |
| 1000 × 2000 mm | 5906 × 11811 | 3937 × 7874 |
| 1200 × 2000 mm | 7087 × 11811 | 4724 × 7874 |
| 1500 × 2000 mm | 8858 × 11811 | 5906 × 7874 |
A background photo only needs these numbers if it fills the whole banner. A photo that fills a quarter of the height needs a quarter of the pixels in that direction. Logos and text should be vector (drawn shapes and live fonts), which stay sharp at any size. There is more on this in our guide to dpi for printing.
Where things go on a roller banner #
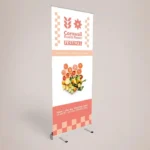
People look at a roller banner from standing height, usually a few metres away and often while walking past. Think of the banner as four zones, top to bottom:
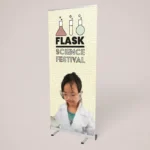
- Top 500 mm: logo and headline. This is roughly eye level for an adult standing in front of it, and it stays visible over tables, chairs and people.
- Middle: the offer. Three to five short points, or one strong photo. If you need more, the reader is too close to be passing by, so a leaflet on the table will do that job better.
- Lower middle: contact details. Web address, phone number or a QR code at about waist height, where someone can photograph it easily.
- Bottom 150 to 200 mm: background only. The base and the top of a table can hide this strip. Run your background colour or photo into it, but keep text, logos and QR codes out.
Keep text and logos at least 30 to 40 mm in from each side edge too. The edges of the graphic sit close to the stand’s side caps, and text jammed against the edge looks cramped from a distance.
Text that reads from across a room #
Most weak roller banner artwork has one problem: too many words. A headline of three to six words, a short list and a contact line are enough. As a starting point, headline capitals of 80 to 100 mm read comfortably across an exhibition aisle, and nothing on the banner should have capitals smaller than about 20 mm.
- Use one or two fonts, bold for the headline and a plain sans serif for everything else.
- Keep strong contrast: dark text on a light background or light text on a dark one. The W3C’s guidance on text contrast is written for screens, but the principle holds for print.
- Avoid text over busy parts of a photo. Put a solid panel behind it or move it.
- Left-align lists. Centred lists of different lengths are harder to scan.
How to set up roller banner artwork step by step #
What you need: your logo (ideally as a PDF, SVG, AI or EPS file), any photos at full resolution, your final wording, and design software that exports PDF.
- Create the page at the finished size. For the standard width that is 850 × 2000 mm, portrait. Set the colour mode to CMYK if your software offers it.
- Mark your zones. Add guides 30 to 40 mm in from each side, one 500 mm from the top, and one 200 mm from the bottom. Nothing but background goes below that last line.
- Lay the background. Run background colours and photos right to all four edges so no white line shows after trimming.
- Place the logo high. Put it in the top zone, big enough to recognise from across the room, and not so close to the top edge that it touches the top rail.
- Add the headline, then the points. Write the headline first and make it the largest text. Add no more than three to five supporting lines underneath.
- Add contact details at waist height. One web address or phone number reads better than a list of every channel you use.
- Check it small. Zoom out until the banner is about the height of your hand on screen. If you cannot read the headline, nobody will from five metres.
- Read every detail twice. Check spellings, phone numbers and web addresses letter by letter. We print what you supply.
- Export a PDF. One page, at the finished size, with fonts embedded or converted to outlines and images at full quality.
- Upload it on the product page. Choose to upload your own artwork. A person checks the file at full size (size, resolution and edges) before anything is printed.
Using the online designer instead #
If you do not have design software, you can build your roller banner artwork in our online designer, straight from the product page of any size such as the 850 × 2000 mm roller banner. It is free to design and preview (the preview carries a small watermark, which is not printed). The designer already has the right page size, adds 5 mm of bleed around the edge for you and shades the bottom strip that goes into the base. Its checks will stop you approving sample wording, and warn you about text that is too small to read from a distance, low-resolution photos and anything outside the safe area.
When you approve roller banner artwork in the designer, you are approving exactly what you see, so read it through slowly first. The print PDF is attached to your order once it is paid. If you only want the print-ready file, that costs £9.99.
Prefer someone else to do it? Choose typesetting (£15) to have your text and logo set on a clean layout, or design from your brief (£35). Both include two rounds of changes before anything is printed.
Common mistakes to avoid #
Look out for these before you send your roller banner artwork:
- Designing on an A4 page and scaling up. The proportions are wrong and small text becomes unreadable.
- Putting the phone number along the very bottom, where the base or a table covers it.
- Using a logo copied from a website. It will look soft at 2 m tall; ask whoever designed it for the original file.
- Dark photos behind dark text, especially on the blockout roller banners that stand in front of windows, where the room is often bright and the banner is in shadow.
Once it arrives, our guide on how to set up a roller banner covers putting it up and packing it away without damaging the graphic.
Still not sure? #
Send us your wording and logo and we will tell you whether it will fit comfortably on the width you have chosen. Call 0161 315 1151 or use the contact form.