What happens when you approve your design
What approving a design in our online designer means, the checks that must pass, the Preview, Mock-up and Actual size views, and a checklist before you tick.
Last updated
When you approve your design in our online designer, you are confirming that what you see on screen is exactly what we print: the same words, numbers, layout and size. There is no back-and-forth afterwards, which is why production can start as soon as your order is in. Before you approve your design, the approval screen helps you get it right, with automatic checks, three ways to view the design and a short statement you tick to confirm.
What it means to approve your design #
The designer builds a print file from your design in your browser, at the exact size with bleed and with every letter converted to outlines, so the printed result matches the screen. When you tick the box you agree to this statement, word for word:
I have checked this design, including the spelling, phone numbers and any registration or ID numbers, and I approve it exactly as shown. I understand that I am responsible for the details I have entered, and that InstantBanners will print it, or supply its print file, exactly as approved.
In plain terms: the checks catch layout problems, but only you know whether your mobile number ends in 42 or 24. Uploaded artwork works differently. A person gives an uploaded file a free file check for resolution, size and bleed, but that check does not cover your wording.
The checks that run before you can approve #
A Checks button at the bottom of the designer shows how many issues there are. Red items must be fixed before the approve button will work; the screen says “Fix the items marked in red to approve.” Amber items are advice you can accept or ignore. Every message has a “Show me” link that selects the item on the design.
| Red: must fix | Amber: worth a look |
|---|---|
| Sample text still in place, such as “YOUR COMPANY LTD” or “01234 567890” | Something outside the safe area (dashed line) that could be trimmed or lost in a hem |
| An empty logo or photo box | A logo or photo below 100 dpi on large items, or 150 dpi on small ones |
| Text too small to print cleanly, for example under 6 pt (about 2.1 mm) on labels | Text that is hard to read against its background |
| Text running past the cut, or anything off the item entirely | Items overlapping text, text crossing a fold, or text in the part of a roller banner that goes into the base |
| A side with nothing on it | Very thin outlines that may not print, and the same line appearing twice |
The designer also flags phone numbers with letters in them or the wrong number of digits (UK numbers have 10 or 11), and email and web addresses that do not look complete. There is no spell-checker, so the wording is down to you.
Preview, Mock-up and Actual size #
Press Review and approve and the “Check and approve your design” window opens with three tabs:
- Preview shows each side flat, with the red cut line and the finished size underneath.
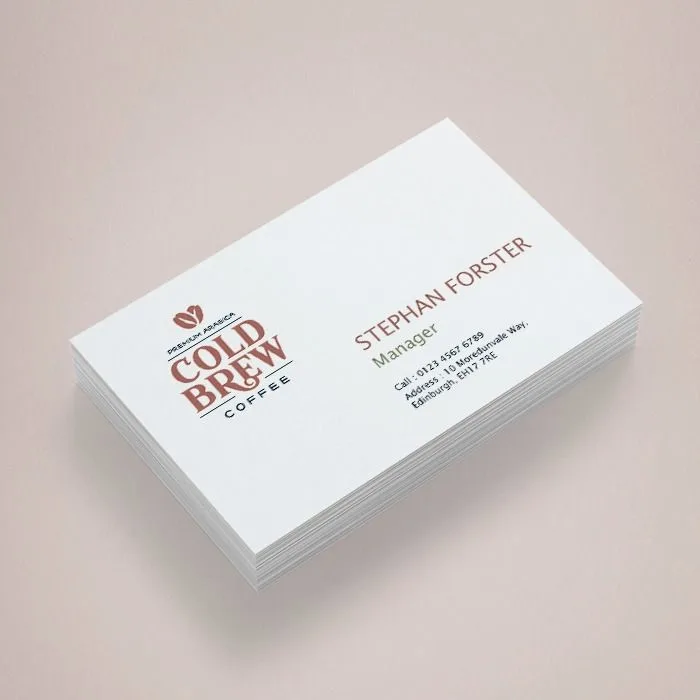
- Mock-up shows it as a finished product: a banner with eyelets on a wall, a roller banner on its stand, cards in a stack or sheets on a desk.
- Actual size (small items) shows it at roughly real size on most screens, beside the outline of a bank card (85.6 × 54 mm) for scale. For banners and other large items this tab is called To scale and stands your design beside a person 1.75 m tall.
Beside the views, a summary lists the product, the size, whether it is printed on both sides, and the print file you will get (a PDF at the finished size with bleed and text outlined). Use Actual size on small items. A phone number that looked fine zoomed in can turn out tiny on a 51 × 25 mm label.
A checklist before you approve your design #
- Read every word slowly, then read it again backwards line by line; it stops your brain filling in what it expects.
- Check each phone number digit by digit against a real source, such as your phone’s contacts.
- Type the web address and email into a browser or email app to be sure they work.
- Check registration, company or ID numbers against the certificate, not from memory.
- Confirm the size and the number of sides match what you want to buy.
- Ask someone else to read it. A fresh pair of eyes catches what yours skip.
- Remember the screen glows and print does not: colours can look a little different on paper or vinyl. Our guide to CMYK vs RGB explains why.
After you approve your design #
Tick “I approve this design” and press Approve and attach to my order. The screen changes to “Approved and attached”, and from there you can add the item to your basket or go back to the product options. You can still change quantity and turnaround. To change the design itself, open the designer again, edit it and approve it again.
In the basket the item shows a thumbnail of your design and the artwork line “Designed online by you”, free of charge. Previews carry a small “InstantBanners preview” watermark; the print file never does. Once your order is paid, the high-resolution PDF is attached to it and you can download it from My Account. If you only want the file, the approved screen offers it without printing for £9.99.
Because your design is made to order, it cannot be returned for a change of mind (this is the exemption in regulation 28 of the Consumer Contracts Regulations 2013). You can cancel for a full refund before production starts, and if anything arrives faulty, damaged or different from what you approved, tell us within 48 hours with photos and we will reprint or refund. The full terms are on our returns and refunds page, and what happens after you order explains the next steps.
New to the designer? Start with how to design a banner online or how to add a logo to a design. The same approval screen is used for business cards, labels, flyers, signs and every other product with the online designer.