Step and repeat layout: logo spacing that works in every photo
How to lay out a step and repeat backdrop so logos show in every crop: grid or offset pattern, logo size, spacing, the height people stand at, and set-up for photos.
On this page 11 sections
- What a step and repeat is for
- Rule 1: use an offset pattern, not a plain grid
- Rule 2: size logos for a head-and-shoulders shot
- Rule 3: concentrate on the head zone
- Rule 4: two logos, alternating
- Rule 5: logos on a plain background
- Rule 6: get proper logo files and permission
- Rule 7: test it in a mock photo
- Step and repeat layout mistakes
- Sizes and materials
- Setting up for photos
A good step and repeat layout repeats your logos in an offset pattern, small enough that two or three appear in any head-and-shoulders photo, and spaced so no crop ever lands on a blank patch. That is the whole purpose of a step and repeat backdrop: wherever people stand and however the photographer frames them, the logos are in the picture.
These rules help you get the pattern right before you order, whether you design it yourself or send us the logos.
What a step and repeat is for #
You see step and repeat backdrops at awards dinners, launches, sports presentations, charity galas and conferences: a wall of repeating logos behind the people being photographed. The photos get shared, printed and posted long after the event, and every one of them carries the event and sponsor names. A plain banner with one big logo only works when the subject stands exactly in front of it; a repeating pattern works from any angle.
Rule 1: use an offset pattern, not a plain grid #
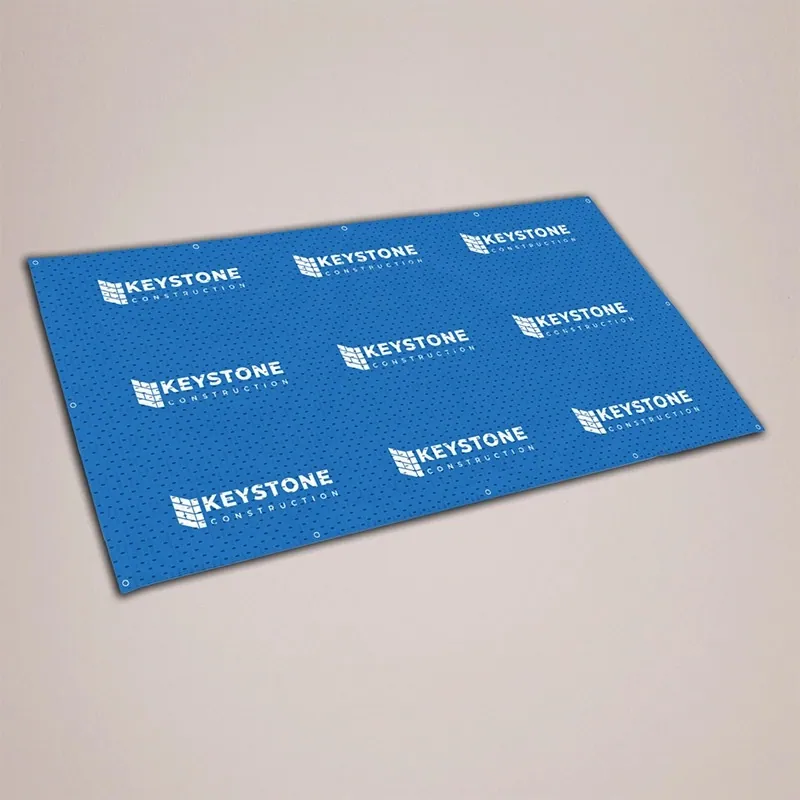
In a plain grid, logos line up in rows and columns, which leaves vertical and horizontal channels of empty background between them. A tight crop can fall entirely within one of those channels. In an offset (or brick) pattern, each row is shifted half a step sideways, so there is always a logo within a short distance of any point. For most events, an offset step and repeat layout is the better choice.
A diagonal pattern is a variation on the same idea: logos run in diagonal lines across the backdrop. It gives the same coverage as an offset grid and can look a little more dynamic, but it is harder to keep sponsor order consistent. If in doubt, stick with the offset grid.
Rule 2: size logos for a head-and-shoulders shot #
Think about the tightest photo the photographer will take, usually one or two people from the waist up. Two or three logos should be visible around them in that frame. On a typical backdrop, logos around 250 to 350 mm wide with similar gaps between them achieve that. Much bigger and a tight crop shows half a logo; much smaller and they become a texture nobody can read.
Rule 3: concentrate on the head zone #
The part of the backdrop that matters most is the band behind people’s heads and shoulders, roughly 1.2 m to 2 m from the floor. Make sure the pattern is complete and clean in that band. The bottom of the backdrop is often hidden by people or furniture, and the very top may be cropped out of most photos.
Rule 4: two logos, alternating #
The classic step and repeat layout alternates the event or host logo with one sponsor logo. With several sponsors, rotate them through the pattern so each appears evenly and no two identical logos sit side by side. Keep the order consistent: host, sponsor A, host, sponsor B, and so on.
Agree the order with sponsors before you design. Some contracts specify how often a logo appears, or where.
Rule 5: logos on a plain background #
A plain white, black or brand-colour background keeps logos readable in photos. Avoid gradients, photos and textures behind the pattern; they fight with the logos and look busy behind faces. If a logo is dark, use a light background, and vice versa. Supply versions of each logo that work on the chosen colour.
Rule 6: get proper logo files and permission #
Every logo should be a vector file (PDF, EPS or SVG) or a very large, sharp image. A logo copied from a website will look soft at 300 mm wide. Ask each sponsor for their logo pack and confirm you have permission to print it; logos are protected, and the government’s overview of intellectual property explains the basics. Our guide to supplying a print-ready PDF covers the file set-up.
Rule 7: test it in a mock photo #
This is the quickest way to prove a step and repeat layout works. Before ordering, drop a photo of a person, scaled to real size, onto your design at the height they will stand. Crop it tightly as a photographer would. If any tight crop shows fewer than two whole logos, or only background, adjust the logo size or spacing.
Step and repeat layout mistakes #
- Logos too big. One or two giant logos is a branded backdrop, not a step and repeat layout, and tight crops will cut them in half.
- A plain grid with wide gaps. Crops land in the gaps. Offset the rows.
- Mixed logo sizes. Sponsors notice. Give every logo the same visual weight unless the contracts say otherwise.
- Text slogans in the pattern. Words repeated in a pattern are hard to read and look odd behind heads. Keep the pattern to logos.
- Pattern stopping short of the edges. Run the pattern right to the edge and into the bleed, so a wide shot has no blank border.
If you would rather not build the step and repeat layout yourself, send us the logos and the order, and our artwork service can set the pattern out for you. Our artwork guidelines list the file types we accept.
Sizes and materials #
Our step and repeat banners come in 6 ft 7 in × 6 ft 7 in (2000 × 2000 mm), 8 ft × 8 ft (2438 × 2438 mm), 9 ft 10 in × 6 ft 7 in (3000 × 2000 mm), 10 ft × 8 ft (3048 × 2438 mm) and 13 ft 1 in × 8 ft 2 in (4000 × 2500 mm), on 440gsm PVC with hems and eyelets or 400gsm PVC-free.
- 2 × 2 m: one or two people at a time, small venues.
- 3 × 2 m or 10 × 8 ft: groups of three or four, the most common event size.
- 4 × 2.5 m: team photos and large presentations.
For themed events, see red carpet backdrops, photo backdrops and the full range of backdrops.
Setting up for photos #
- Hang it flat. Wrinkles and sags show in every photo. Tension it evenly through every eyelet on a frame or wall.
- Mind the lighting. Check for glare from the photographer’s flash position and angle any lights to avoid hot spots.
- Leave standing room. People should stand a pace or so in front of the backdrop, which gives nicer photos and fewer shadows.
- Mark the spot. A strip of tape on the floor where guests should stand keeps logos behind them.
Step and repeat banners are one of our quicker products, from 1 working day to dispatch on Express; check the live days on the product page. Banners over 3 m on any side add £15 once per order. UK mainland delivery is £7.95 per order and free when your goods total is £99 or more after discount codes.