How to add a logo to a design
How to add your logo in our online designer: the best file types, removing a white background, colours from your logo, placing it well and fixing a low-res logo.
Last updated
To add a logo to a design in our online designer, upload it on the first screen (“Step 1: upload your logo”) or later under Your details, and every template places it for you; then drag it, resize it from a corner and keep it inside the dashed safe line. A large PNG with a transparent background or an SVG gives the sharpest print. Below: which file to use, how to place it well, and what to do if your logo is small or fuzzy.
Which file to use when you add a logo #
The designer takes PNG, JPG, SVG or PDF logos (for a PDF it uses the first page). It does not open AI or EPS files: for those, choose “I will upload print-ready artwork” on the product page, or the logo redraw service.
| File | How it prints | Notes |
|---|---|---|
| SVG, or a vector PDF | Sharp at any size | Best choice. Ask whoever designed your logo for the vector file. |
| PNG with a transparent background | Sharp if it is large enough | Sits cleanly on any background colour. |
| JPG, or a PNG with a white background | Fine on a white area | Shows as a white box on a coloured background unless you remove the background. |
| Screenshot or a logo saved from a website | Often soft | Usually too few pixels for anything bigger than a small label. |
How large is large enough depends on how big the logo will print. Our guide to dpi for printing has the sum and worked examples.
How to add a logo in the designer #
- Upload it at the start. When the designer opens, the “Step 1: upload your logo” screen appears. Drop your file in or tap to choose it. You can also add or replace it any time in the Your details tab, under Your logo.
- Remove a white background if you need to. For PNG and JPG logos there is a “Remove background” button in the Your logo section. If it takes away too much, “Undo background removal” puts it back.
- Pick a layout. Every template has a logo space, so switching layouts in the Templates tab moves your logo into each one automatically. Choose the layout where it sits best.
- Use the colours from your logo. The designer reads the colours in your logo and offers three or four ready-made colour pairs under “Colours from your logo”. Pick one and the whole design follows it.
- Move and resize it. Click the logo, drag it where you want it and pull a corner handle to resize. Logos keep their proportions as you resize, so they never stretch. Arrow keys nudge it in small steps.
- Keep it inside the safe line. The dashed line on the canvas marks the safe area. If the logo crosses it, the checks panel warns that it may be trimmed off or lost in a hem.
- Clear the checks. Look for a low-resolution warning or a note that the logo overlaps text, then move or resize it before you approve.
Placing a logo so it works #
When you add a logo, size it for the item. On a banner, the company name and phone number usually need to be read first from a distance, so a logo about a quarter to a third of the height works well. On a business card or label, the logo is often the main thing people recognise, so it can take more room.
- Give it space. Keep text from touching or running under it. The designer warns when a logo covers text.
- Watch the contrast. A dark logo on a dark panel disappears. Choose a colour pair where the logo stands clear, or place it on a light area.
- Mind the bleed and safe area. Logos, like text, belong inside the dashed line. Our guide to bleed and safe area explains the margins for each product.
- Stamps are different. On a self-inking stamp the logo is made in solid ink, so shades and colours become one colour. Simple, bold logos work best.
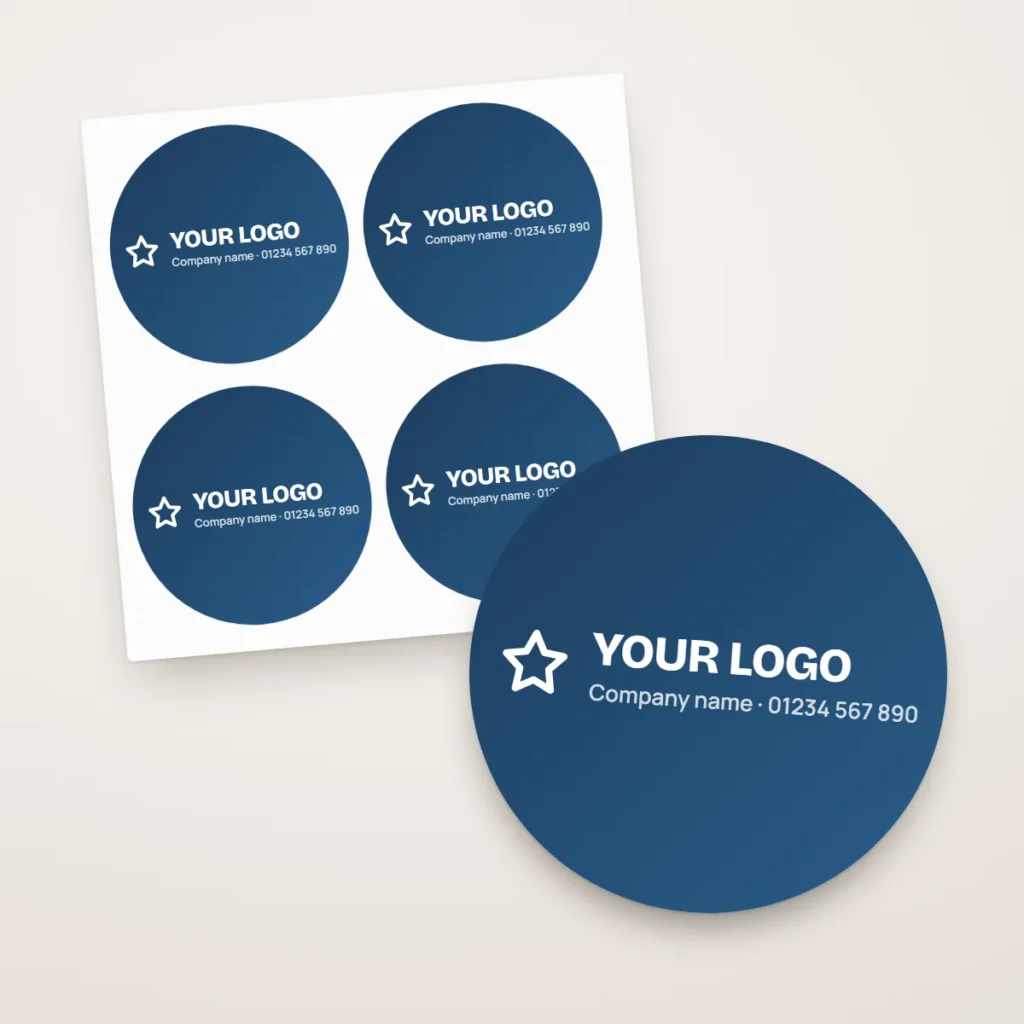
On some items you add a logo to a fixed place. Round custom logo stickers and business cards are built around it, and card backs can show your logo on a colour. On a very small label a layout may have no room for it; the designer tells you and offers to “Place my logo on it”.
If your logo is low resolution #
When a logo will print below 100 dpi on a large item such as a banner, or below 150 dpi on a small one, the checks show a warning with three choices: make it smaller, upload a bigger file, or choose our logo redraw. It is a warning rather than a block, but a soft logo on a 6 ft × 3 ft (1829 × 914 mm) banner is obvious from the street.
If you cannot find a better file to add a logo from, close the designer and choose Redraw / vectorise my logo from a low-res file under Artwork on the product page. It costs £50, and we recreate your logo as a clean vector file you keep and can use on everything else. With no logo at all, choose “No logo? Use my company name as a wordmark” to carry on, or pick Design a new logo for me (£100) under Artwork.
Scheme and trade-body logos #
We do not add scheme or trade-body logos to designs. Those marks are licensed to members, so the designer prints your registration or membership number as plain text instead, and the icon set only has simple line icons. Only upload logos you own or have permission to use; if your own logo is a registered mark, the government’s guide to registering a trade mark explains how that protection works.
Once the logo sits well, the next step is to approve your design. If you are working on a banner, how to design a banner online covers the rest of the process.